WSL Setup
In this post I will explain my WSL setup quickly. It will cover only following topics:
- Configuration of WSL.
- wsltty terminal emulator. I will explain why I use it, its benefits and limitations.
- Also I mention how you can launch X-Windows applications.
- My colors setup.
- My fonts setup.
- My shell and tmux setup.
Here I am writing about WSL1, because this is the version I use today.
WSL configuration
By default WSL works out of the box. But you can apply few tweaks by modification of the /etc/wsl.conf file.
 1[automount]
 2
 3# This option mounts windows drives like C:, D: to the root like /c, /d
 4# Otherwise it will be default /mnt/c, /mnt/d.
 5# You can specify any directory you like.
 6root = /
 7
 8# Keeps Linux file system writes as additional metadata on NTFS files.
 9# Otherwise all files on mounted windows NTFS volumes will have 777 access rights.
10options = "metadata"
You can read about all options in more details here: https://devblogs.microsoft.com/commandline/automatically-configuring-wsl/.
And about files metadata and mounting of drives to WSL here: https://devblogs.microsoft.com/commandline/chmod-chown-wsl-improvements/.
Terminal emulator
I tried to use few terminal emulators before I came to wsltty and now I find it perfect for the WSL because:
- You can install it without admin rights (yes, it is a big deal on Windows 😉).
- It works smoothly with VIM and TMUX and it does not have any strange screen artifacts like corrupted screen lines, broken line tabulations and other glitches which I experienced on e.g. ConEmu and Alacritty.
- I believe that Alacritty is a great terminal emulator for Linux, but on Windows it has some glitches.
- You can zoom in and out (increase and decrease font size) with “Ctrl =” and with “Ctrl -” keys. Very quickly.
- It fully supports UTF-8 and Powerline Fonts.
- It supports True Color.
- It is very very lightweight. wsltty consumes around 7 MB of RAM!
Link to wsltty: https://github.com/mintty/wsltty.
I want to mention, that I keep another good terminal emulator installed - MobaXterm. I keep it installed because it has built-in X-server (it works even on the portable installation). But I use X-Windows applications on WSL very rarely, thereore MobaXTerm is not launched 99% of time.
I can recommend MobaXterm as terminal emulator for WSL as well, but I found it too heavy, because it contains too many functions I don’t use. But if you want “all in one” solution - then MobaXterm is for you.
Small update: Recently I finally figured out how to configure «Alacritty» and I migrated to it. I will explain its configuration in later posts.
Setup of the shell
Because I use only Linux shell in WSL, I invested some time in the configuration of the shell. I use Powerline for tweaking the command line prompt look and to expose there most important information in a nice way.
My Bash prompt
I stick to default Bash shell, but you can install the shell of your choice, e.g. Zsh or Fish and apply similar tweaks to it.
Color themes
It is possible to configure coloring of the terminal. To get desired colors you have to modify:
- Color theme of the wsltty
- This will create mapping between RGB color and terminal name of the color.
- Colors used by the Bash.
- Colors used in the shell proogramms like ls. They are defined in the
$HOME/.dircolorsfile.
- Colors used in the shell proogramms like ls. They are defined in the
- Colors used by the Powerline.
- Colors are defined in the
$HOME/.config/powerline/colors.json. - And color themes for the shell are defined in this folder
$HOME/.config/powerline/colorschemes/shell/. - To configure Powerline, just follow documentation and examples.
- Colors are defined in the
Terminal colors is a very personal preference and it is hard to make things how you like from the first try. I recommend you to use this resource: base16. There you can find most popular color themes for all tools you use: shell (Bash, Zsh, Fish), VIM/NeoVIM, terminal emulators, editors, etc.
Fonts
It is not enough to install «Powerline» for your shell in the WSL. «Powerline» requires fonts extended with special characters (symbols). Because I use wsltty terminal emulator in Windows, I had to install Powerline fonts on my Windows system. And after I configured wsltty to use one of those fonts. Not all fonts will look nice and smooth and I had to try all of them, and play a bit with anti-aliacing and size.
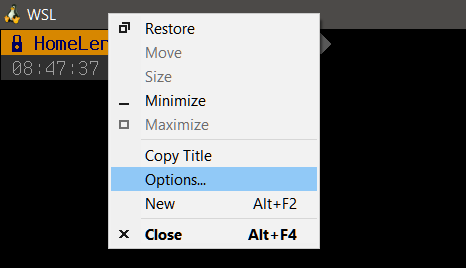
To install font in the wsltty you just right click on its window header and select “Options”, then go to “Text” and there you can modify the font used by the terminal.
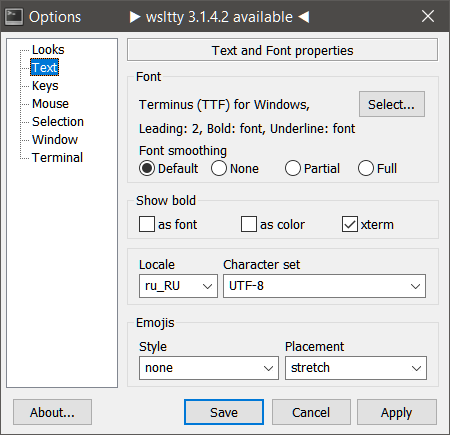

Or you can just edit the wsltty configuration file which is located here: %USERPROFILE%\AppData\Roaming\wsltty\config.
I find «Terminus (TTF) for Windows» the best looking font for me. And its size must be set to 13 points (at least on my screens which all have FullHD resolution).
Tmux
Tmux is the “must have” application for this setup, because it allows me to have access to all my workspaces on my fingertips. And with couple of Tmux plug-ins I can save and restore my setup:
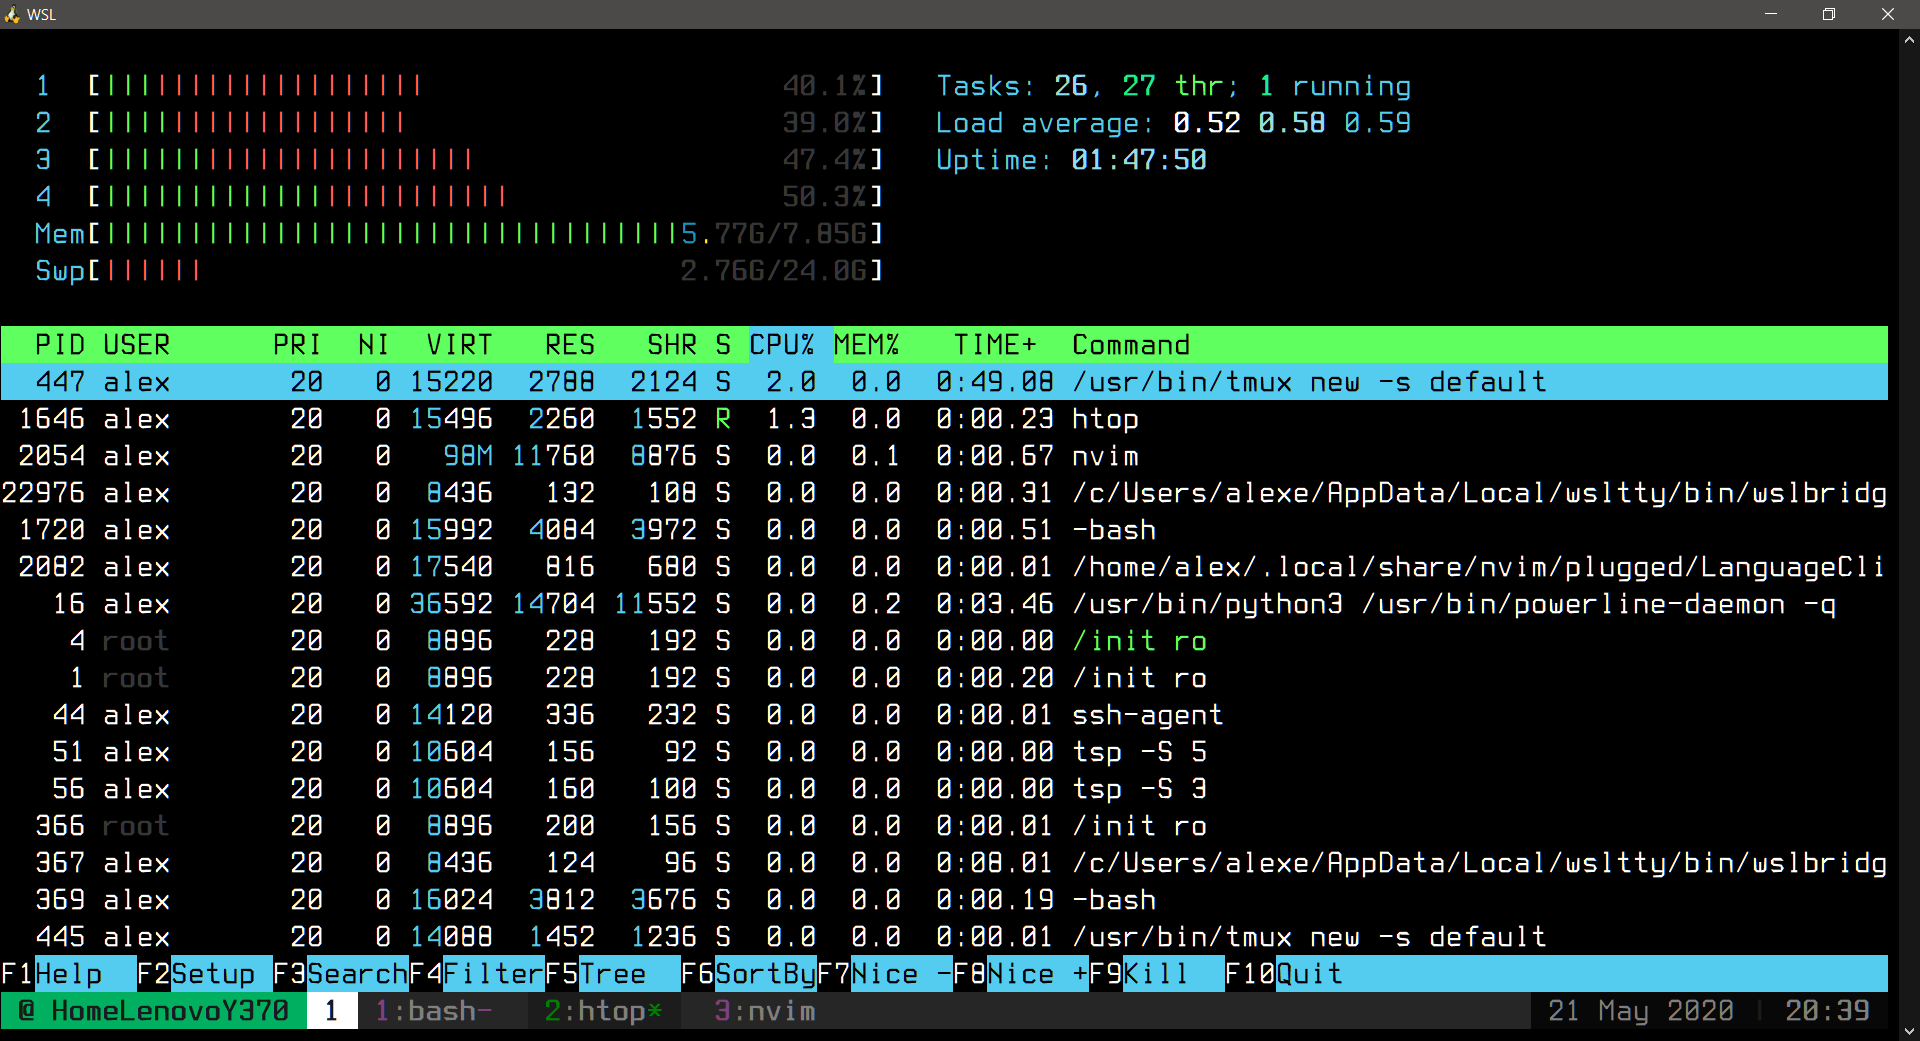
My Tmux
Use symlinks to access Windows folders
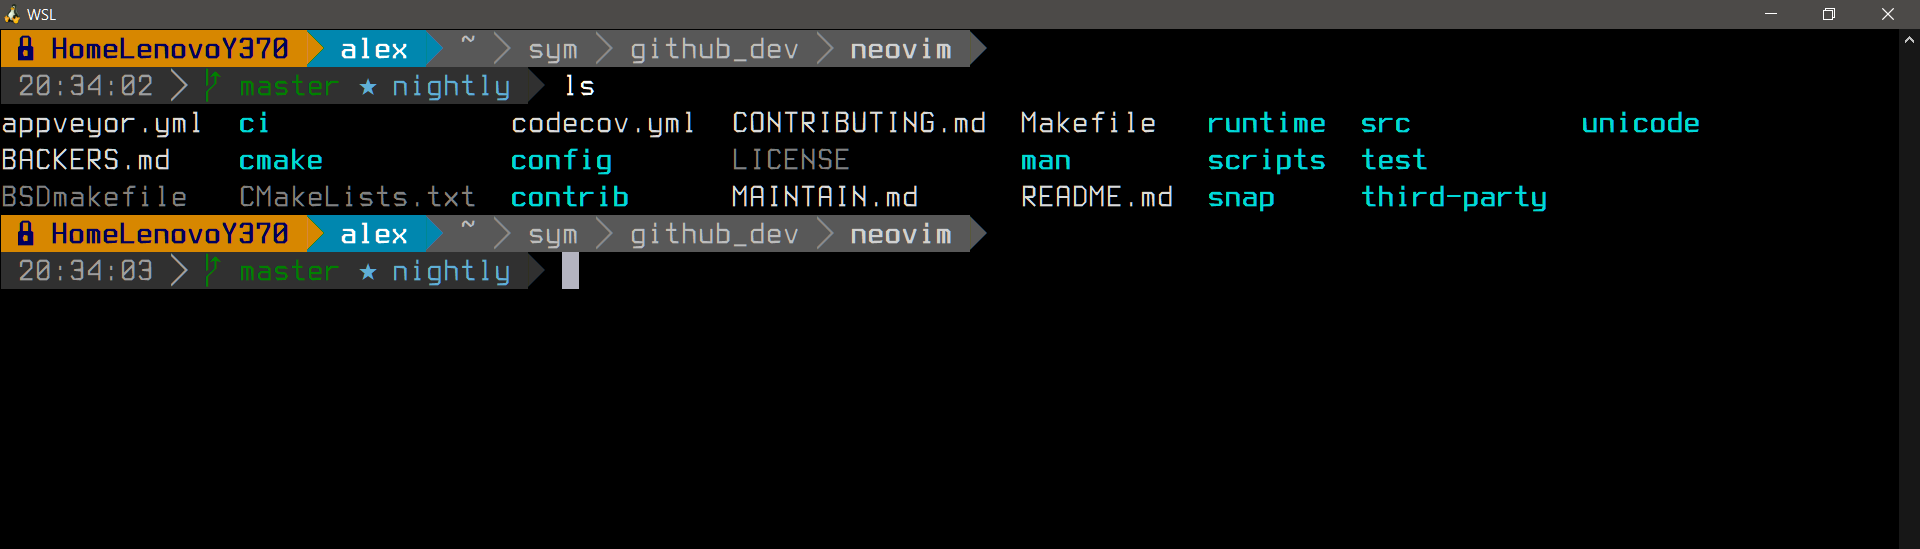
The beauty of WSL1 is that I have access to all my windows folders from the WSL1 (Linux) environment. Therefore I can use all great Linux tools everywhere.
In order to simplify your access to the most used folders, you can create symbolic links from the WSL1 file system to the Windows.
E.g. I mapped my most used folders in the $HOME/sym/ directory:
1tree ~/sum
2/home/alex/sym
3├── docker-dev -> /c/Users/alexe/Documents/docker-dev/
4├── documents -> /c/Users/alexe/Documents/
5├── downloads -> /c/Users/alexe/Downloads/
6└── github_dev -> /c/Users/alexe/Documents/dev_github
Summary
I tried to make rough and brisk outline of my personal setup of WSL on my Windows PC. Of course, you will personalize it further because this description does not show that I have:
- My own Bash functions and scripts
- My own hotkeys in bindings for Tmux, Bash and different tools.
- My own customized VIM/NeoVIM functions.
- etc.
The beauty of Linux is that it is truly your personal system with all tweaks and customizations available out of the box (you just write your script and make things happen 😉).
And unlike Windows I don’t need to hack register file, or use 3rd party tweaking software of unknown source and quality. I have my system and I tune it with my own configs and scripts in the way I want it.
Linux is not just free software, it makes you free!
Awesome!